
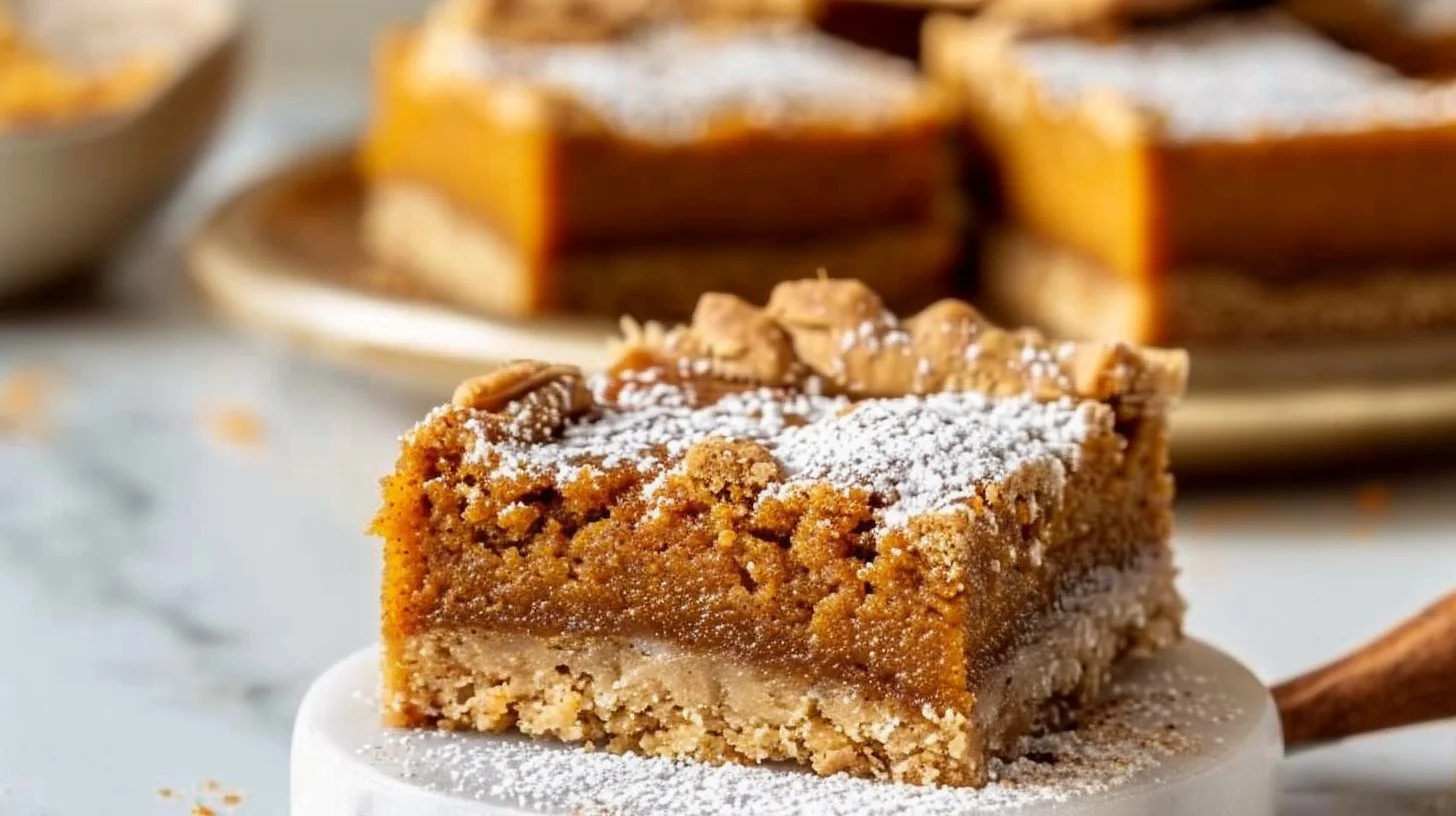
As the leaves turn vibrant shades of orange and gold, the craving for seasonal flavors kicks in. What better way to indulge than with a delightful slice of Dairy-Free Pumpkin Pie Bars? These bars pack in the rich, creamy essence of pumpkin pie while ensuring that everyone—especially those with dairy sensitivities—can enjoy them. With a buttery crust and a smooth pumpkin filling spiced just right, these bars are sure to be a hit at your next gathering or cozy night in. Stick around as we explore exactly how to make them, along with tips to ensure your success!
Why You’ll Love These Dairy-Free Pumpkin Pie Bars
These bars are not just a treat; they are a fabulous option for a wide range of diets and occasions. Here are a few reasons why you will love them:
- Quick and Easy: With a total prep time of about an hour, these bars come together in a breeze, making them an ideal option for last-minute dessert cravings.
- Perfect for Beginners: Even if you are a newbie in the kitchen, this straightforward recipe simplifies baking so you can shine without stress.
- Ideal for the Whole Family: Rich in flavor yet gentle on the tummy, these bars cater to taste buds of all ages and dietary restrictions.
- Economical: Using pantry staples means you can whip up a delicious dessert without breaking the bank.
- Fall Flavor in Every Bite: With pumpkin puree and aromatic spices, every bite transports you to a cozy autumn day.
The Necessary Ingredients
Before we jump into the baking, let’s gather our ingredients. Here’s what you’ll need:
- 1 1/2 cups all-purpose flour
- 1/2 cup powdered sugar
- 1/2 cup dairy-free butter
- 1 cup pumpkin puree (canned or fresh)
- 3/4 cup coconut milk
- 3/4 cup maple syrup
- 2 teaspoons pumpkin pie spice
- 1/4 teaspoon salt
- 1 teaspoon vanilla extract
- 2 tablespoons cornstarch
Notes and Substitutions on Ingredients:
- Dairy-Free Butter: This plays a crucial role in creating a tender crust. You can substitute it with coconut oil for a stronger coconut flavor or applesauce for a lower-fat version, though that might affect texture slightly.
- Pumpkin Puree: While canned pumpkin is convenient, you can roast and puree fresh pumpkin for a more intense flavor. Just note that moisture content may differ, so ensure it’s cooked well and blended smoothly.
- Coconut Milk: This dairy-free alternative adds creaminess. You can use almond or oat milk in a pinch, but the texture may be less rich.
How to Prepare the Dairy-Free Pumpkin Pie Bars Step by Step
Let’s dive into creating these delicious bars with clear step-by-step instructions that make the process easy and enjoyable!
- Preheat the Oven: Preheat your oven to 350°F (175°C) and grease an 8×8 inch baking pan.
Pro Tip: Use parchment paper for easy removal after baking! Just leave a bit hanging over the sides of the pan. - Prepare the Crust: In a medium bowl, mix together the all-purpose flour and powdered sugar. Cut in the dairy-free butter until the mixture resembles coarse crumbs.
Pro Tip: Use a pastry cutter or two forks for perfectly crumbly dough; this helps to keep the crust flaky! - Create the Base: Press the crumb mixture into the bottom of the prepared baking pan, forming an even layer for the crust. Bake for 15 minutes.
Pro Tip: Make sure you pack it down well to prevent a crumbly crust later on! - Mix Filling Ingredients: In another bowl, combine the pumpkin puree, coconut milk, maple syrup, pumpkin pie spice, salt, vanilla extract, and cornstarch. Whisk until smooth.
Pro Tip: Whisking well not only integrates the flavors but also helps eliminate any lumps for a velvety filling! - Add the Filling: Pour the pumpkin mixture evenly over the baked crust.
Pro Tip: Give it a gentle tap on the counter to release any air bubbles that may have formed! - Bake Again: Return to the oven and bake for an additional 25-30 minutes or until the filling is set.
Pro Tip: You can do a toothpick test; insert it into the center, and it should come out clean when done! - Cool and Serve: Allow to cool completely before cutting into bars. Serve and enjoy!
Pro Tip: The flavors develop even more after chilling in the refrigerator for a few hours, making it worth the wait!
Serving Suggestions
Now that you have your delectable Dairy-Free Pumpkin Pie Bars ready, let’s talk about how to serve them for maximum enjoyment!
Perfect Pairings
- Beverages: Pair with a warm cup of herbal tea, spiced chai, or a scoop of dairy-free vanilla ice cream for a comforting combo.
- Toppings: Consider drizzling a little extra maple syrup on top or adding a sprinkle of crushed pecans for a delightful crunch.
Occasions
- Weeknight Dinner: Ideal for a cozy weeknight treat, these bars serve as a lovely dessert after a hearty meal.
- Special Occasions: Perfect for holiday gatherings, potlucks, or Thanksgiving dinner, impressing your guests with a thoughtful dessert.
Serving Tips
- Cut into small squares for easy sharing, or serve as larger rectangles for those who love a more generous portion!
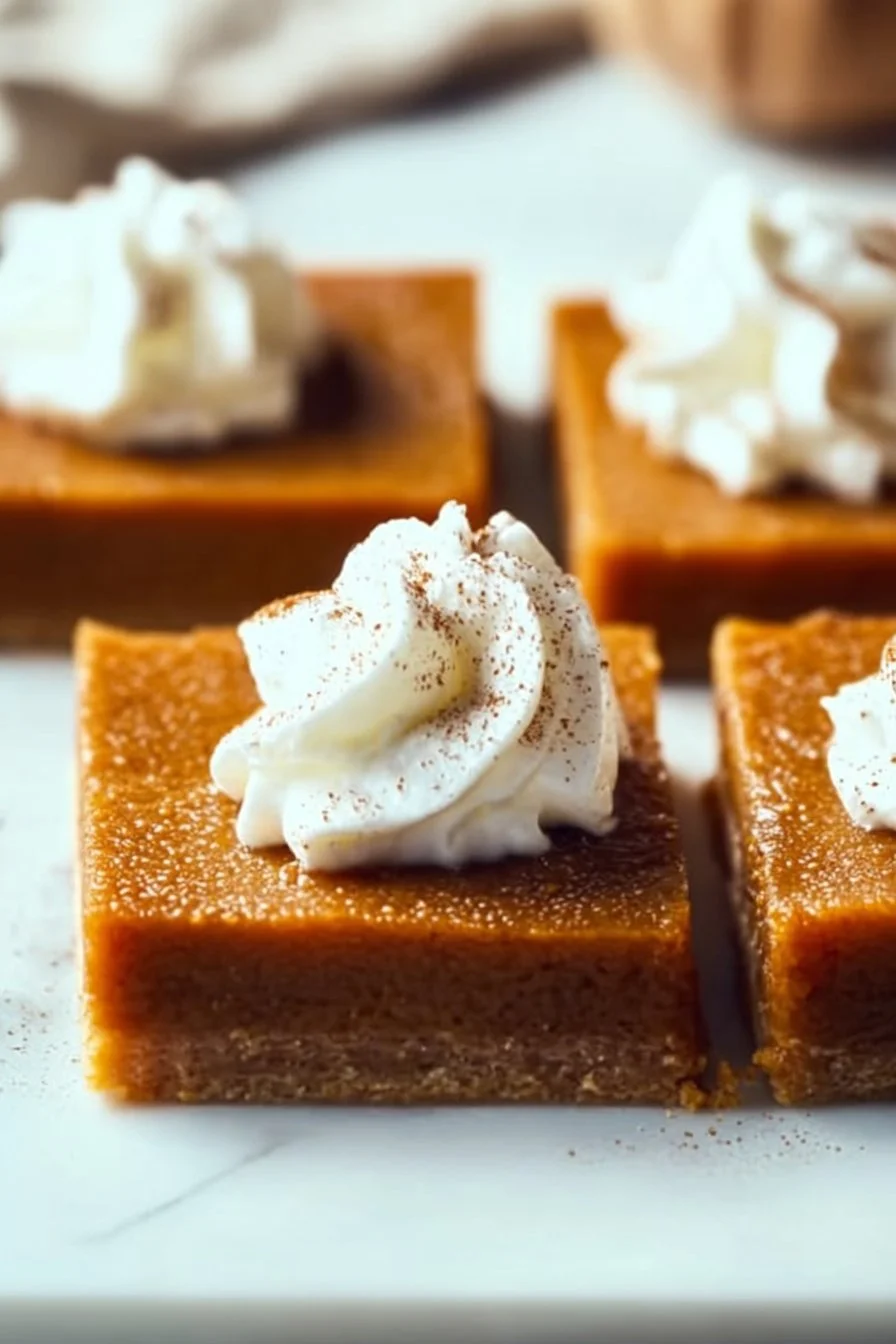
- For a gourmet touch, serve with a dollop of coconut whipped cream on top!
Storage and Reheating Tips
To ensure your Dairy-Free Pumpkin Pie Bars stay fresh and delicious, here are some handy storage tips:
Refrigerated
- Store in an airtight container in the refrigerator for up to 5 days.
Freezed
- To freeze, wrap individual bars in plastic wrap and then place them in a zip-top freezer bag. They can be stored for up to 3 months. Remember to write the date on the bag!
Reheating
- For best results, thaw in the fridge overnight if frozen, and then warm in the oven or microwave before serving.
Guaranteed Success Tips
To guarantee you’ll make perfect Dairy-Free Pumpkin Pie Bars every time, keep these golden rules in mind:
- Don’t Overmix the Filling: Just stir until combined—overmixing can affect the texture of your bars.
- Cool Completely Before Cutting: It’s tempting to cut into them right away, but letting them cool fully helps achieve clean, beautiful bars!
- Measure Ingredients Accurately: Baking is a science, so accurate measurements lead to consistent results.
- Keep an Eye on Baking Time: Ovens vary, so check your bars a few minutes before the suggested time to avoid overbaking.
Recipe Variations
Feeling adventurous? Here are some fun variations to try with your Dairy-Free Pumpkin Pie Bars:
- For Extra Spice: Add 1 teaspoon of ground ginger or a pinch of cayenne pepper for a little kick.
- Swirl In Some Chocolate: Fold in a handful of dairy-free chocolate chips to the pumpkin mixture before pouring onto the crust for a chocolate twist!
- Nuts About Nuts?: Sprinkle chopped walnuts or pecans on top of the filling before the second round of baking for an extra crunch.
Frequently Asked Questions (FAQ)
Q: Can I use other sweeteners instead of maple syrup?
A: Yes! You can substitute with agave syrup, honey (if not strictly vegan), or granulated sugar. Just adjust the liquid amounts slightly if using granulated sugar.
Q: Can these bars be made gluten-free?
A: Absolutely! Substitute the all-purpose flour with a gluten-free blend that includes xanthan gum for the best results.
Q: My bars turned out too wet; what happened?
A: This could happen if the filling was not baked long enough. Ensure that the filling is set and check with a toothpick in the center to avoid this.
Q: Can I make this recipe ahead of time?
A: Yes, these bars actually taste better when made a day in advance! Store them in the fridge after cooling.
Q: What can I use if I don’t have cornstarch?
A: You can use arrowroot powder or tapioca starch as a 1:1 substitute for cornstarch in this recipe.
Q: Is there a way to make them lower in sugar?
A: You can reduce the amount of maple syrup or use a sugar substitute that measures like sugar, but be aware it may change the texture.
Q: How can I tell if the filling is set?
A: The edges will look firm, and the center should not jiggle when you gently shake the pan. A toothpick inserted should come out clean.
With these tips, tricks, and comprehensive instructions, your Dairy-Free Pumpkin Pie Bars will surely stand out. Watch as friends and family savor each bite, asking for seconds, and maybe even the recipe! Happy baking, everyone!

Dairy-Free Pumpkin Pie Bars
Ingrédients
Method
- Preheat your oven to 350°F (175°C) and grease an 8x8 inch baking pan.
- In a medium bowl, mix together the all-purpose flour and powdered sugar. Cut in the dairy-free butter until the mixture resembles coarse crumbs.
- Press the crumb mixture into the bottom of the prepared baking pan to form an even layer for the crust. Bake for 15 minutes.
- In another bowl, combine the pumpkin puree, coconut milk, maple syrup, pumpkin pie spice, salt, vanilla extract, and cornstarch. Whisk until smooth.
- Pour the pumpkin mixture evenly over the baked crust.
- Return to the oven and bake for an additional 25-30 minutes or until the filling is set.
- Allow to cool completely before cutting into bars.